With doo, you can not only manage your on-site events – virtual events such as webinars or online conferences can also be handled perfectly with our Event Manager. Learn here which functions and settings you can use to professionalize the attendee management of your digital events and save manual work and time at the same time.
I. Event creation
1. Create event in doo
1.1 Mark event as virtual
In the first step of event creation (“Event information“) in the “Venue” section, make sure to create the event as “virtual”. If it already exists, also add the link for online participation in the corresponding field. This will allow you to insert the link into emails later using placeholders.
1.2. Add limitation to 1 ticket per booking
In the second step of event creation (“Ticket categories“), we recommend setting that a maximum of one ticket per category can be booked when creating ticket categories. On the one hand, this allows you – as described later – to shorten the registration process. On the other hand, this way you prevent group registrations and get your attendees to register individually each time and can collect the data from each individual attendee.
1.3. Ask for attendee data only
In the third step of event creation (“Attendee data“), specify that the first attendee and the booker should be merged. This way, your attendees will only have to enter their name, email address, and their answer to any other question only once during registration, simplifying the process for them.
2. Optional: Automatize event creation in your video conference tool
If you regularly organize virtual events with the same video conference provider, it might make sense to set up an interface between this provider and doo using the doo automation function. Via such an interface, the data for newly created virtual events in doo can then be transferred to your account at Webex, Teams, etc. and can automatically be created there as new appointments incl. link. If you are interested in the automation of processes, please contact your doo contact person.
II. For the registration
3. Adjust event settings
3.1. Adjust booking emails
Check whether the email content of your booking emails is suitable for your virtual event and adapt it if necessary. One option, for example, would be to include the access link directly in the booking confirmation and/or event reminder that your attendees receive after registration.
3.2. Deactivate ticket send-out
In the settings for “Tickets & Documents“, check that you deactivate the send-out of tickets if desired. For virtual events, usually no ticket is required, as the registered persons can normally participate by clicking on an online participation link.
3.3. Legal check
Check if you may need to adjust your booking & privacy policies for virtual events.
4. Adjust booking process
4.1. Create shortened booking widget without ticket selection
To make the registration as easy as possible for your target group, you can shorten the booking process by manually adjusting the widget code. For example, for webinars if there is only one ticket category anyway and only one person can register per booking at a time, you can skip the first step of the booking process where you usually have to select the desired number of tickets: Create a normal booking widget as usual and copy the code. Then you just need to add the following elements to the code behind “data-viovendi-widget-config-name” before embedding it in your event page:
data-viovendi-tickets-prefill='{ "ID OF THE TICKET CATEGORY ACCORDING TO TICKET CATEGORY OVERVIEW": 1}' data-viovendi-ticket-selection-step-behavior="autosubmit"
Example for adjusted code:
<div class="viovendi-booking-widget"
data-viovendi-locale="en-us"
data-viovendi-event="12345"
data-viovendi-organizer="34567"
data-viovendi-widget-config-name="booking-34567-36820"
data-viovendi-tickets-prefill='{ "56789": 1}'
data-viovendi-ticket-selection-step-behavior="autosubmit"> </div>
<script type="text/javascript" src="https://doo.net/viovendi-embed.js"
data-viovendi-version="1"> </script>
Instead of the ticket selection, the widget will now directly show the second step of the registration, where attendees can enter their data and complete the booking for the only existing ticket category.
III. Before the event
5. Eventually transfer the doo registration to video conference tool
Depending on which video conferencing provider you use, the registered persons may have to be created there manually in advance so that they can participate in your event. If you have set up an automated interface between doo and your video conferencing provider, you can specify that the registered people’s data is automatically transferred there from doo. This way you can then create personalized invitation links to track the participation of each individual (see 6. and 7.).
6. Send reminder with link to video conference
As described under point 3.1, you can insert the participation link into the doo standard booking confirmation and/or automatic event reminder, which is predefined in terms of timing (directly following the booking or 4 days before the start of the event) and design (structure and design predefined).
Alternatively, you can also send the link manually as a doo doo email message to all registered persons at any time in the design of your choice.
If you use the doo automation function, you can also automate the reminder email and not only define design and time yourself, but at the same time also use the advantages of the interface with your video conference provider and e.g. send personalized invitation links to each participant for evaluation purposes (see 5. and 7.).
7. Tracking the attendance
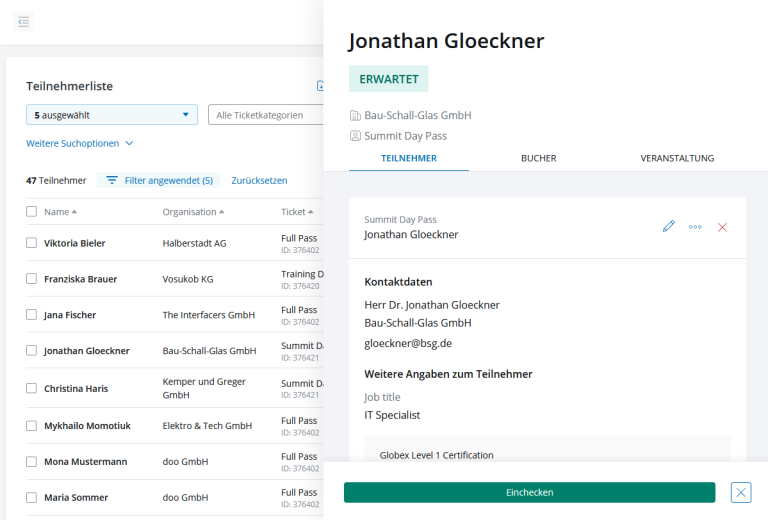
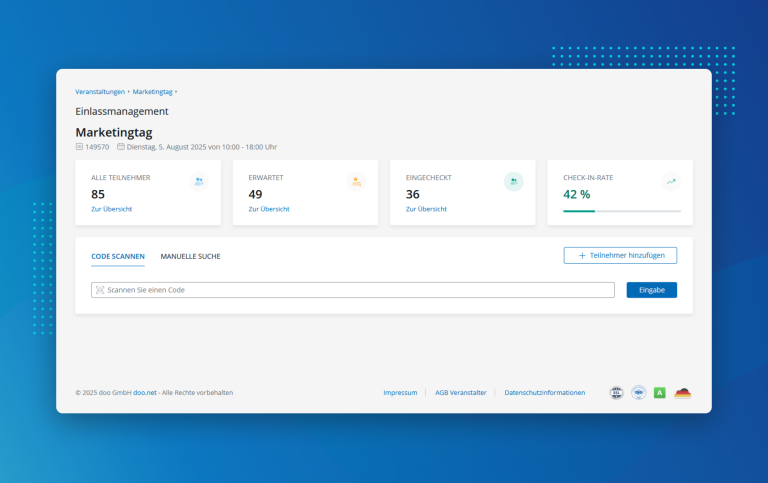
If you want to document the check-ins (i.e. the contacts who actually participated) within doo, you can – depending on which video conferencing software you use for your event – if necessary match the list of participants listed there with the list of attendees in doo and check in the people manually via the doo attendee overview. If there is an interface between doo and your video conferencing tool, this step can be automated.
This way you have an overview of who participated and can save them e.g. as a new contact group to contact them afterwards – likewise you could also create a separate contact group from the “no-shows” and let them know via email campaign what they missed (see 9.).
IV. After the event
8. Publish recording online
If you have recorded your event, you should put it online promptly so that interested parties can receive the link. With the help of the doo website editor you have the possibility to create a hidden subpage and to assign a password to it.
9. Send out feedback form, missed-you email etc.
Use the data collected from your attendees for follow-up communication: Create a survey using our form function, for example, and send it to the attendees using the email manager. Or send the recording or a handout with further information to the people who registered but did not participate.
If necessary, you can also issue personalized certificates of participation to the people who took part and, if you wish, make them subject to certain conditions.

