The doo website editor: create an individual event page
1. What is the doo website editor?
The doo event website editor offers you the possibility to create individual websites for your events in your desired design and with your desired domain. The editor is an optional feature that can be activated for your doo account for a monthly fee. If you are interested in an offer to use the editor, please contact your doo contact person or upgrade@doo.net at any time.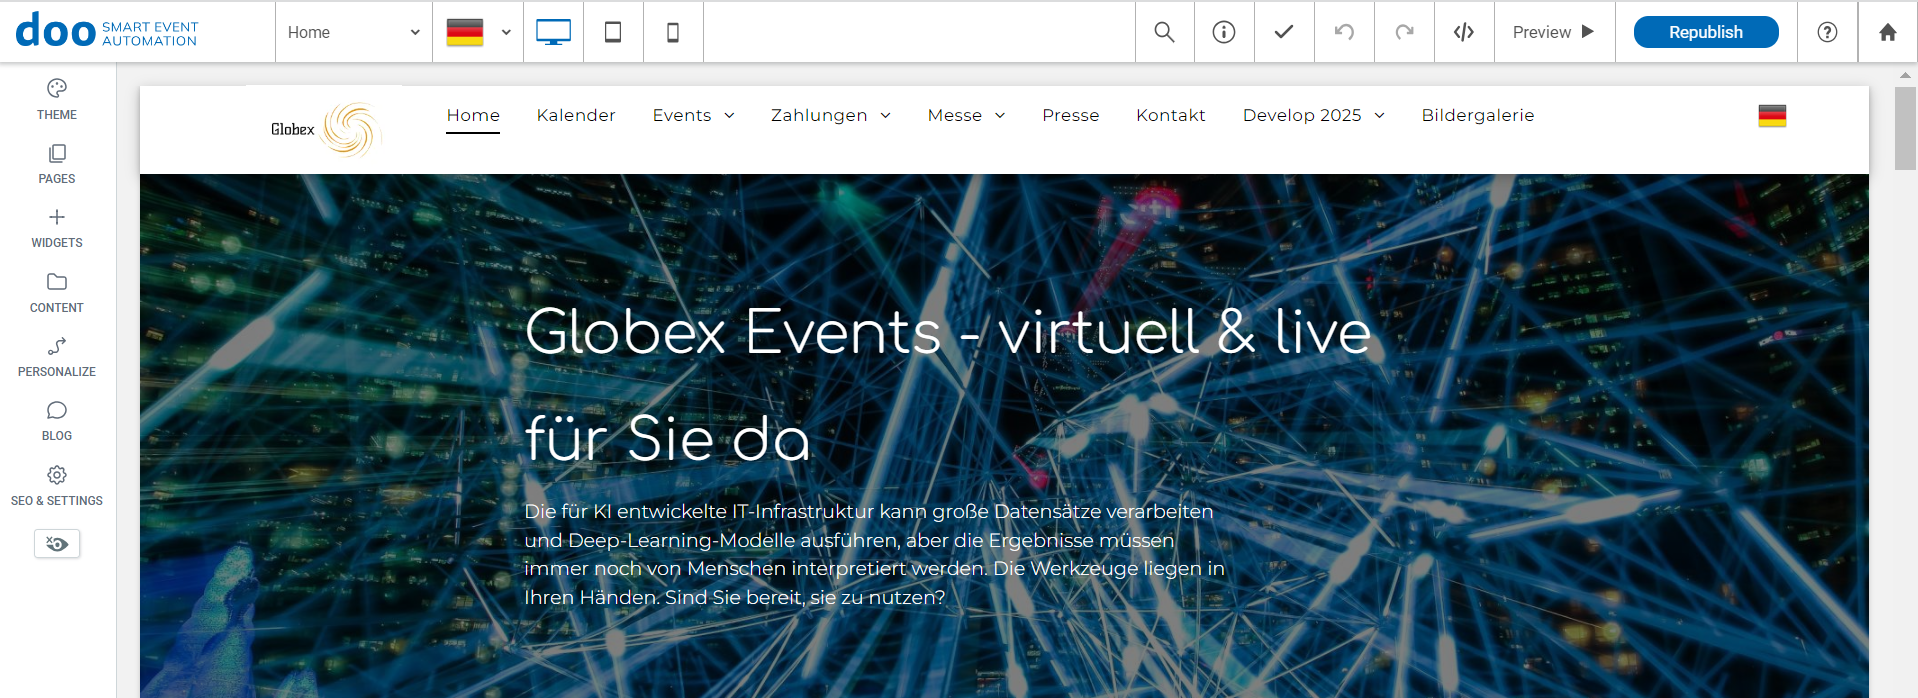
With doo, you can choose between a simple landing page with a predefined structure, in which you can only exchange the content, and a complex event website with any number of subpages and customization options. This article describes the customization options of the complex variant – if you choose a simple landing page, some of the described features will not be available to you accordingly.
2. Structure and navigation in the editor
The editor can be called up in the left menu under “Website” and then opens in a new tab in your browser. The editor includes two navigation areas, with the help of which you can design your website individually and independently.
2.1 Title bar

The title bar is used for navigation. Using the dropdown, you can quickly and easily switch between the created subpages of your website.
In addition, you can check how a created page is displayed on different devices by clicking on the corresponding icons.
In the title bar you will also find the controls to undo editing steps, save working steps or preview the current version of your website, for example.
Changes to your pages are automatically cached by the editor on an ongoing basis – so you don’t need to save them manually. If you want to transfer changes made in the editor to your website, confirm this by clicking on “Publish” – only the initial publication of the page has to be done by doo (see below).
2.2 Side menu
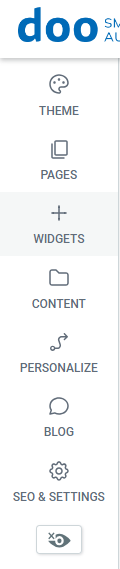 On the left side you will find the “Menu”, which shows you all available elements and functions for editing the page content.
Under “Theme” you can create and change the basic design of your page. The global format set here (e.g. font or size), is automatically overwritten to the individual elements. Of course, the format can be changed later in the individual elements.
Using the “Pages” tab, you can add and edit new subpages to your website and create pop-up windows.
Under “Elements”, you can add new elements (columns, text fields, images, icons, etc.) and functions to your pages at any time by dragging and dropping them.
Under the tab “Content”, you will find the content library, into which you can import content yourself. Here you can upload images and videos for later use, for example, or find complete text passages on the page and replace them with others.
The Personalize tab offers the possibility to personalize the website for the visitor. As soon as the corresponding conditions selected by you are met, the desired action will be performed. For example, it is possible to show visitors who access your page through the link from an email campaign different things than someone who visits the page regularly.
Under the menu item “Blog”, you have the possibility to create a blog to provide the visitors of your website with current information.
Under “Settings”, you can make various administrative changes to your website. For example, an SSL certificate can be created here, SEO optimization can be performed and Google Analytics can be activated. If you want to change the domain of your site, you need to contact doo.
3. Creating an individual website
3.1 Basic structure of the website editor
As a user of the doo website editor, you will receive a template from us, which you can customize and design according to your wishes. Before you start creating your own website, you should familiarize yourself with the general structure of the editor:
Each page consists of sections that form the basic framework of a page. The sections are made up of one or more rows and columns, into which elements (“widgets”) such as image placeholders or text fields can then be inserted. You can then fill the created widgets or elements with content such as image files, text, etc.
The first row of each page is always the header and the last row is the footer. You can insert as many sections or rows as you like between the header and footer.
3.2 Set design and layout
To set the basic design for your website, go to “Design” in the left menu. Here you have the possibility to define global settings regarding the display of texts, buttons, images, lines. You can also choose a global background and define how the menu of your website should be displayed on different devices under “Website layout”. Read more about the different device options here: Mobile Optimization – Adapt your site perfectly for all devices.
3.3 Website layout: create or delete subpages
To create or delete a new subpage for your website, go to “Pages” in the left menu.
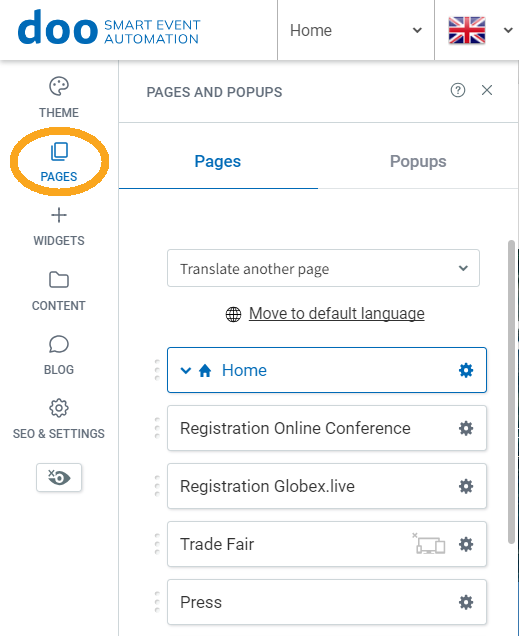
Here you can view all existing sub-pages and create new ones. You can also rename, duplicate or delete existing pages using the gear icon. Using the 3-dot icon in front of each page name, you can change the order of the pages using drag & drop. It is also possible to subordinate pages to other pages.
3.4 Page structure: Create and edit sections and lines
With the doo page templates you can individually design and change whole rows as well as single elements, add new ones or delete them. To do this, move the mouse over the row you want to edit or over which you want to insert the new section or row. A “Line” button will appear on the left, which you can click.

Then the editing window opens, where you can make changes for the selected line.
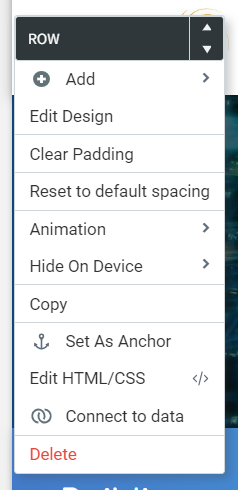
To move the line up or down within the page, click the corresponding arrow icon at the top of the editing window. To remove the line, click on “Delete” at the bottom of the selection. The editing window also offers you the possibility to adjust the design or to select animations (e.g.: elements fade in slowly or appear from a selected direction).
To add new rows, sections, columns or inner rows, go to “+ Add” and select what you want.
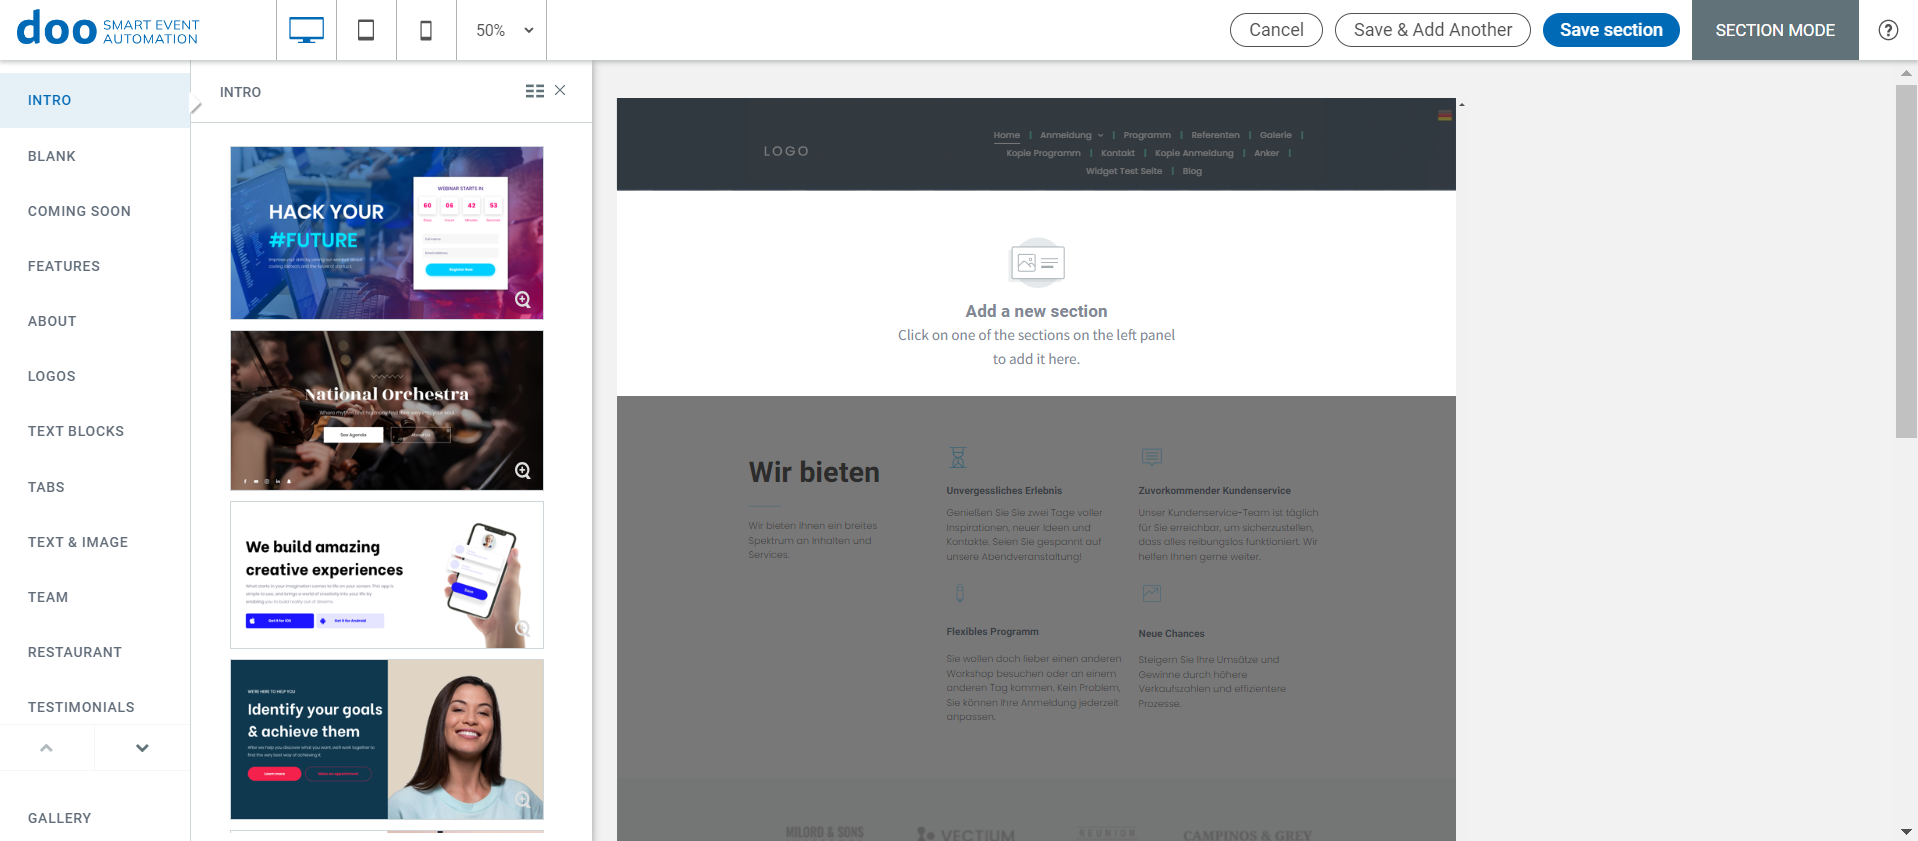
If you choose “Section”, you can choose from a variety of different topic-specific sample sections. For example, you can use section templates to include logos or image galleries. Confirm the selection at the top of the menu bar by clicking “Save”.
3.5 Inserting and deleting widgets
As described earlier, widgets act as placeholders for your content. To fill your page with content such as images or text, the widget must first be positioned on the page.
If the widget is already created, e.g. as part of our template or a newly inserted section, you only need to click on it and then you can adjust the content as well as the design of that element.
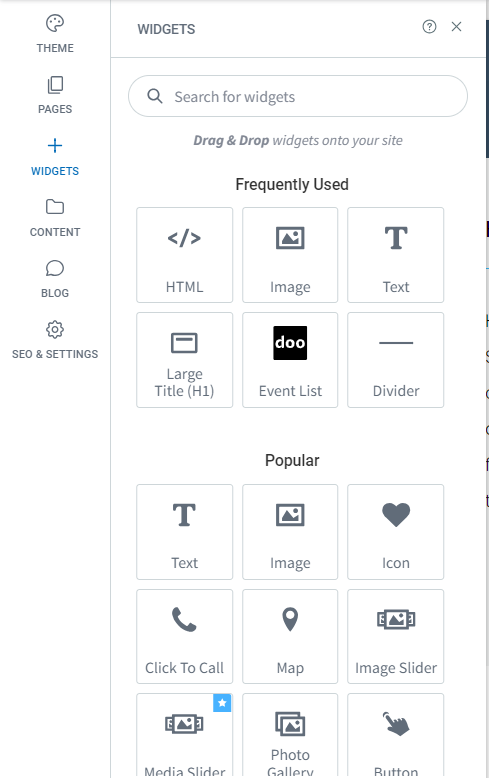
To insert a new widget into your page, click on “Widgets” in the left menu, select the desired element and drag it to the desired position on the page.
To ensure that the element is inserted at the desired location, pay attention to the note in the blue insertion mask before releasing it. If you select “Insert here”, the element will be inserted into the already existing row or column, if you select “Insert into new row or column”, the element will be inserted into a new row or column and the content editor will be opened immediately.
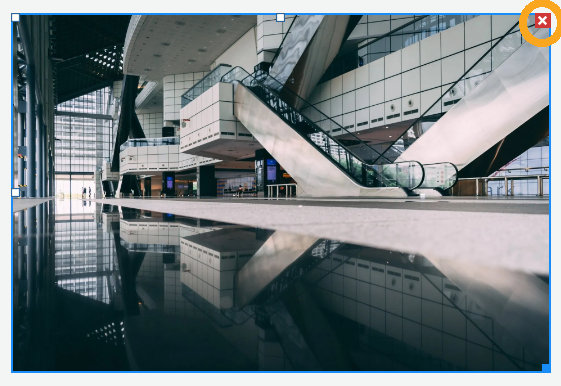
To delete elements, select them and click the red “X”.
3.6 Filling elements with content
If you click on an existing element in the editor, the content editor opens and you can fill the element with the desired content.
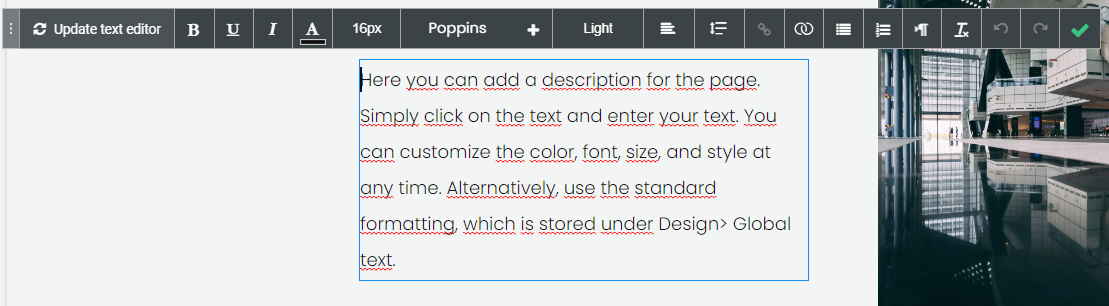
For text elements, the content editor offers you a variety of formatting options to change the font or size of a text.
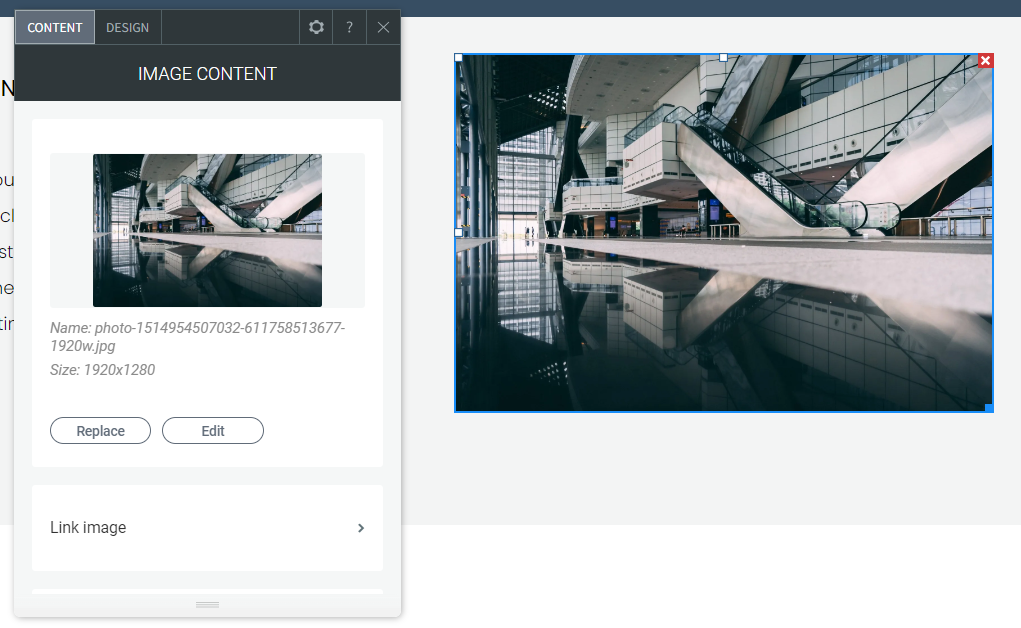
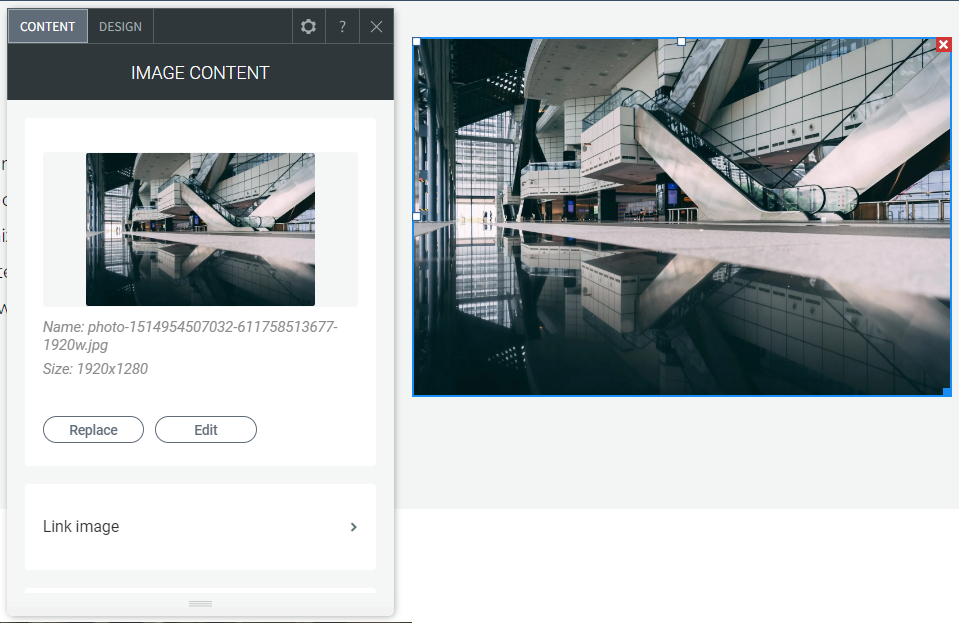
For images, you can either upload your own files or access royalty-free images that the editor provides for free. We recommend that you load the images into your editor in the size in which they will also be displayed on the website, in order to avoid unnecessarily long page loading times – for example, the images of a slider show should not be wider than 1600 pixels. The selected image can then be adjusted as desired via “Edit”.
Changes to the design of the element can be made at any time in the “Design” tab.
3.7 Integration of the doo booking mask into your website
To integrate a doo booking mask into your website, the first step is to create the desired doo widget in the doo Event Manager. You can find instructions on how to do this here.
After successfully creating your widget and copying the widget code, select the “HTML” field in the left menu under the “Widgets” tab and drag it to the desired position on your page.
As soon as you release the mouse button at the desired position, a window will open where you can paste the widget code. Confirm the integration of the doo widget by clicking on “Update”.
3.8 Information about imprint, data protection and copyright
Please note that you, as the owner of the website, are responsible for its content as well as for compliance with legal requirements. Therefore, please make sure that your website complies with all legal requirements regarding data protection, imprint as well as copyright of the contents.
4. Linking the website to your domain
4.1 Creating your desired domain by doo
If you have not secured a domain for your website yet, doo can take care of the purchase of your desired domain and the deposit for your website created in doo on request. If you are interested in such an offer, please contact your doo contact person or the doo customer service.
4.2 You bring your own domain
Of course you can also bring your own, already existing, domain with you. To do so, go to “Settings” in the left menu and now to “Website URL”. Now fill in your domain in the field, and now click on “Change Website URL”. Now you can choose a domain for your website. Click on the last field to enter your, already existing, domain there. Now click on “Save”.
Afterwards a new window will open, now follow the steps to connect your domain with your website.
5. Publishing the website
After you have successfully created your website, you can select “Preview” in the menu bar to check once again whether your subpages are displayed as desired on all devices. Especially with images or videos you should check that the view is correct.
To publish your website for the first time, please contact your doo contact person or the doo Support Team. If you make any adjustments after doo has approved the first publication of your website, you can publish them yourself at any time by clicking on the “Publish” button in the upper right corner.