doo Default Event Website and Custom Event Website
After you have made an event live, doo automatically creates a standardized event website that you can use for allowing you attendees to register. This allows you to start registration immediately after going live by distributing the link to your attendees.
If you prefer to use your own website where you embed the booking form, you can store that URL for your event. The standardized website created by doo will then no longer be visible to your attendees, and instead, doo will automatically link to your individual website for links pointing to your event, for example in the case of the booking portal link or invitation links. You can embed widgets into your existing website or create a new website using the doo website editor. How to embed the booking process into your website can be found in our article about widgets.
1. The doo default event website
1.1 What is the doo default event website?
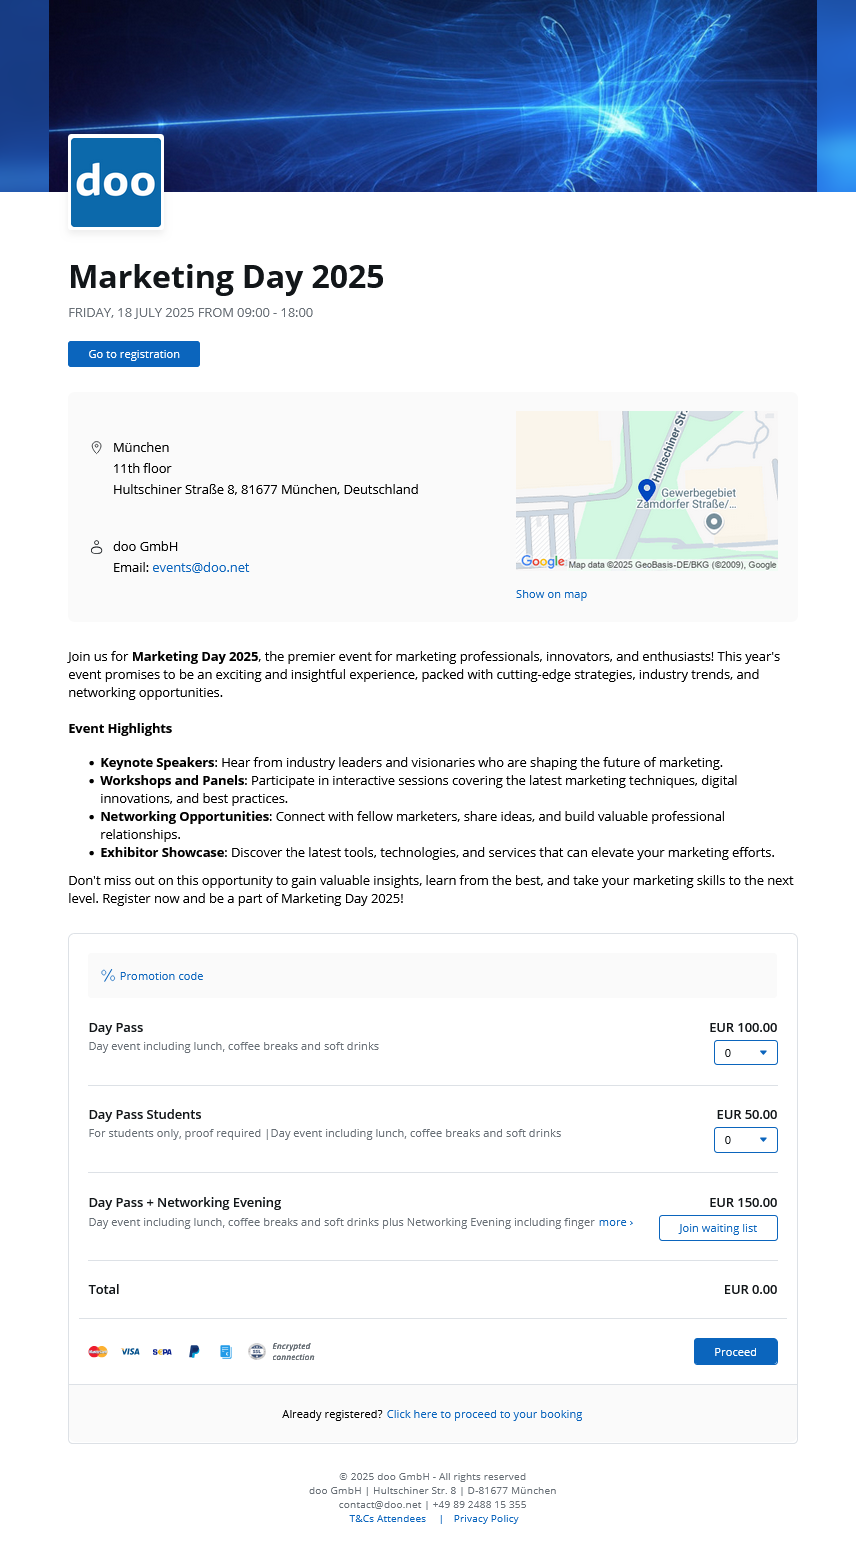
The standardized event website created by doo allows potential attendees to register directly for your event without having to embed the booking process into another website. This solution is ideal for organizers who do not want or cannot use doo widgets. The doo default event website essentially corresponds to the booking widget with event information, which is embedded on a standalone page under the doo.net domain.
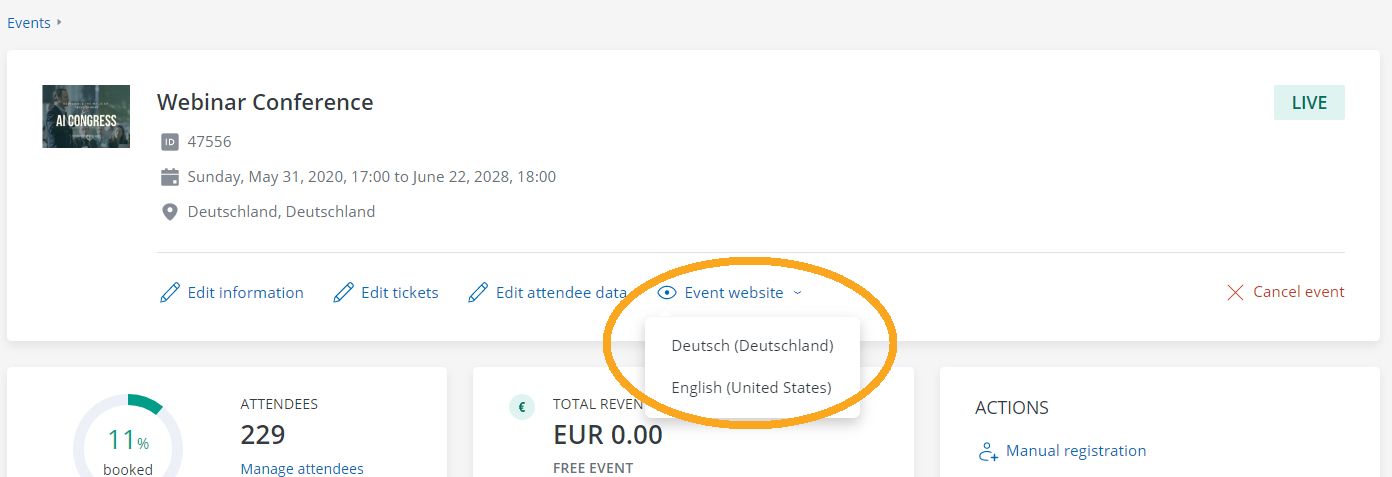
After you have made your event live, the contact person of your doo account will receive the link to the doo default event website via email. You will also find the URL in the event details under “Event website”. If your event supports more than one language, you will see a list of links per language here. More information can be found in our article on multilingual events.
The default event website is available exclusively in German and English. The page is hosted under the doo.net domain. The URL has the form doo.net/event/{{event.id}}/order for English and doo.net/veranstaltung/{{event.id}}/buchung for German. It is not possible to choose your own domain. For this, you can embed the widgets into your existing homepage or create a webpage using the doo website editor.
You can include this URL for example as registration link into your email inviation, integrate it as link or button in your website or share it via social media. Your bookers will be directed to a page that contains all event information including the option to register.
1.2. Customizing the doo default event website
You can adjust the color and fonts as well as set a page footer in the Organization settings > Events.
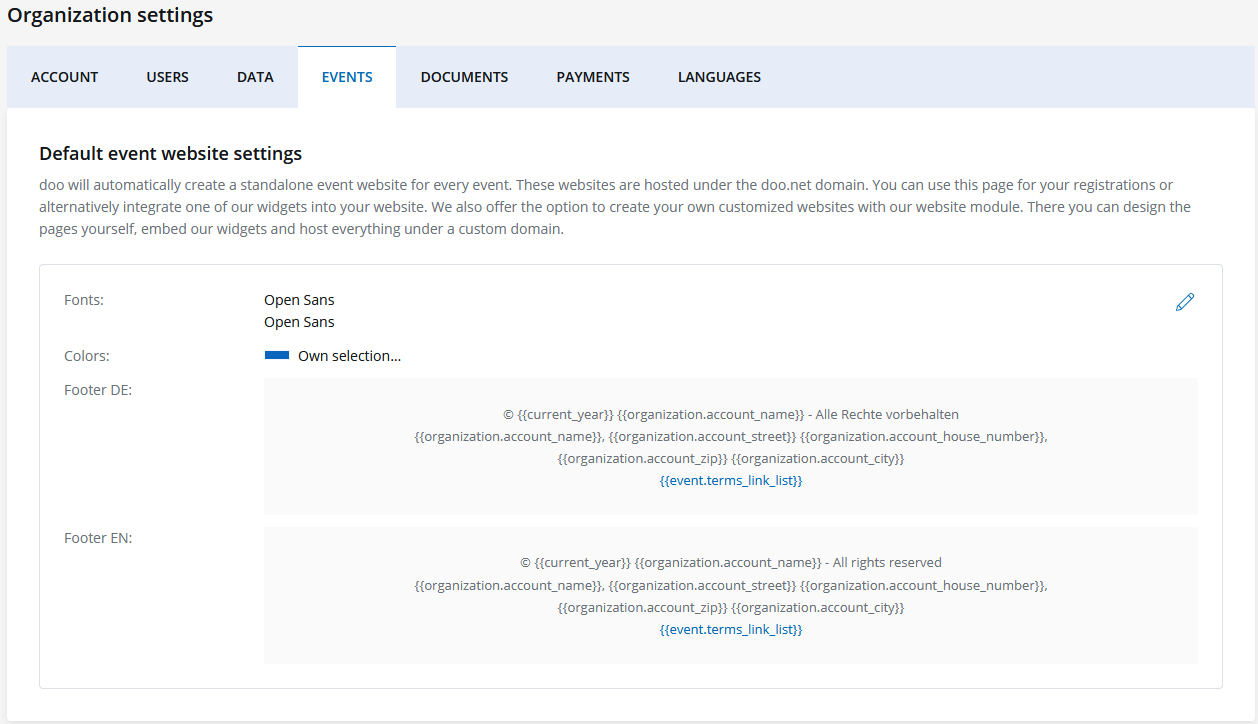
For the footer, you can insert your organization or invoice address as a placeholder. The advantage here is that the footer automatically updates when you edit the values in the doo Manager app. Alternatively, you can also link to your general site notice. The placeholder {{events.terms_link_list}} outputs all booking terms & conditions as a list of links that are stored for the specific event.
Information on the formatting options of your footer can be found in the article on editing event information, which uses the same text editor.
It is also possible to customize the texts on the page or adjust the behavior of the webpage using URL parameters (refer to the technical documentation).
2. Adding a custom event website link
To add an individual event website URL to your event and thus replace the doo default event site, open the event details and select “Integrate into website” in the “Actions” menu.
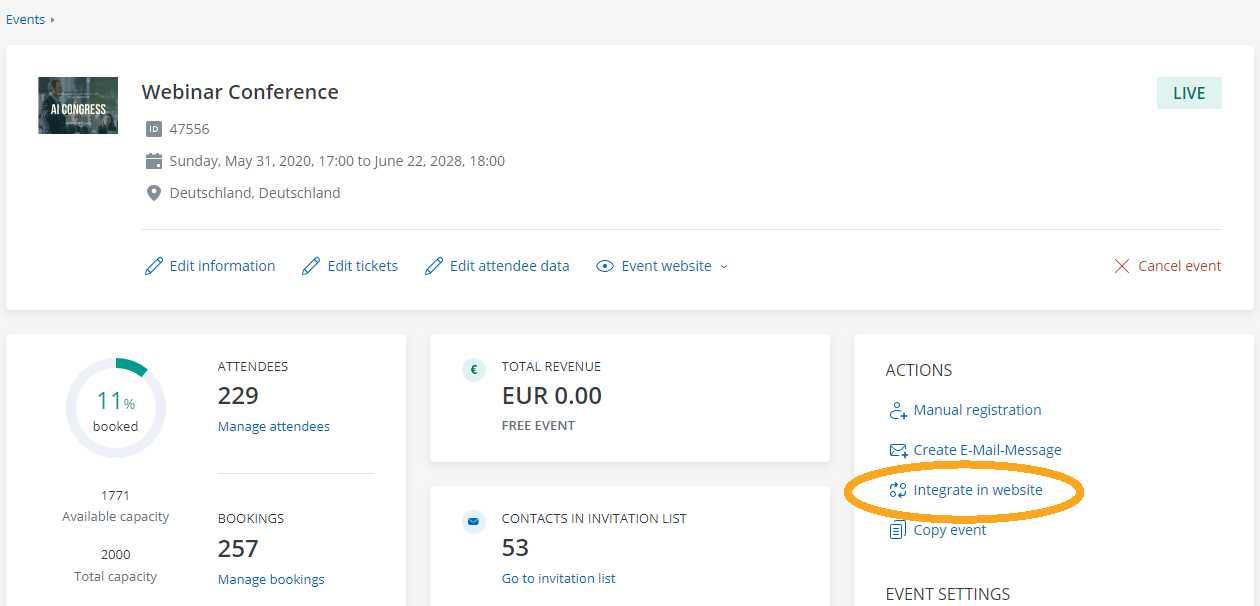
Click on “Edit link” under “General settings”, replace the link to the doo event site with your individual website und click “Save”.
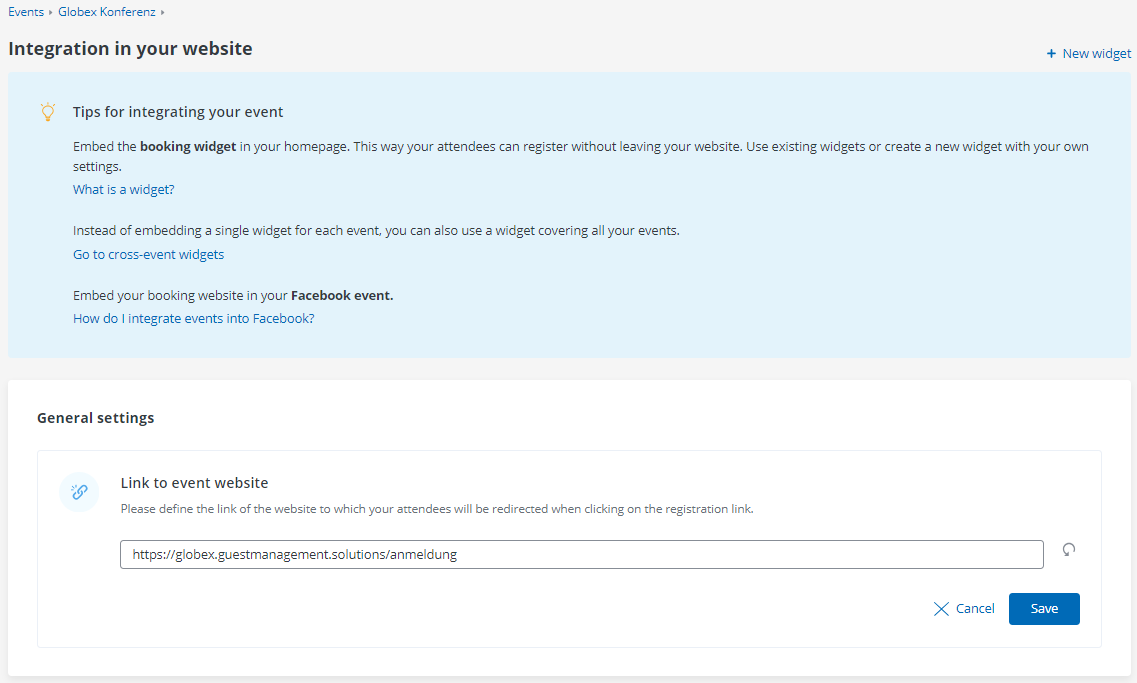
Once you have replaced the doo generated website, it will no longer be visible for your bookers. Links from doo that point to the event use the link you have stored. This applies, for example, to the link to the booking portal or payment process, or invitation links in email messages. If you do decide to use the default event web page created by doo, you can always undo your changes by clicking on the “undo”-symbol that is shown at the end of the link field.
For multi-lingual events, you can store the link to the event website for additional languages in the translations under Event settings > Languages