Setting up auto emails
1. Use cases for auto emails
With the auto email function you can create templates that should be used for automated sendouts in the future, e.g. whenever a certain action is triggered. This gives you the opportunity to individualize for example your communication towards bookers and attendees (e.g. adding further booking emails, customize event reminders, automating feedback requests after an event has ended) or towards internal or external stakeholders (e.g. inform Accounting about ticket sales or partners about newly registered attendees).
2. Accessing the auto email templates
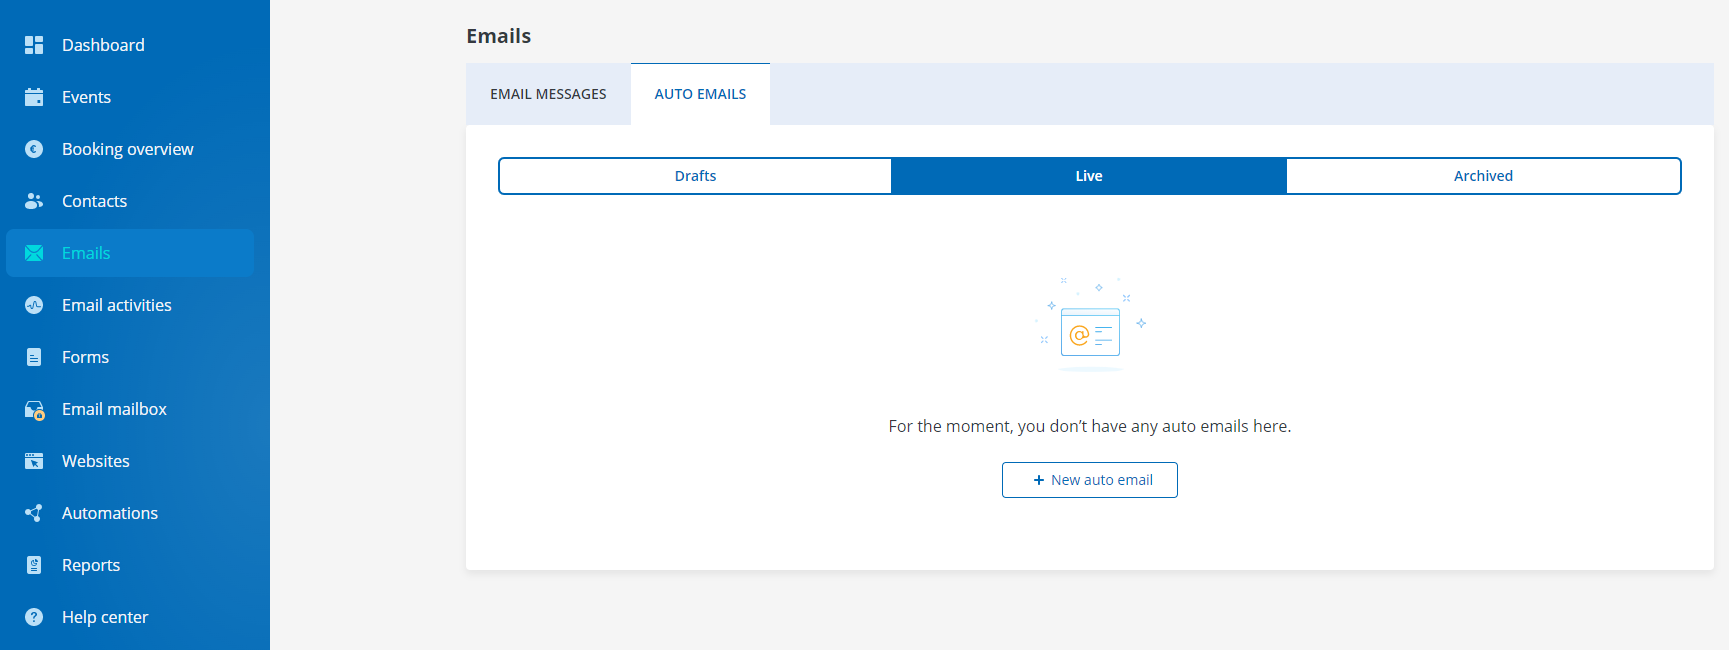
To access your auto email templates, please select “Emails” in the main menu on the left and switch to the tab “Auto Emails”. Here you will find your draft templates. In order to navigate to the auto emails that are currently live or already archived just click on the corresponding tab.
3. Creating a new template
To create a new template, please click on “+ New auto email”.
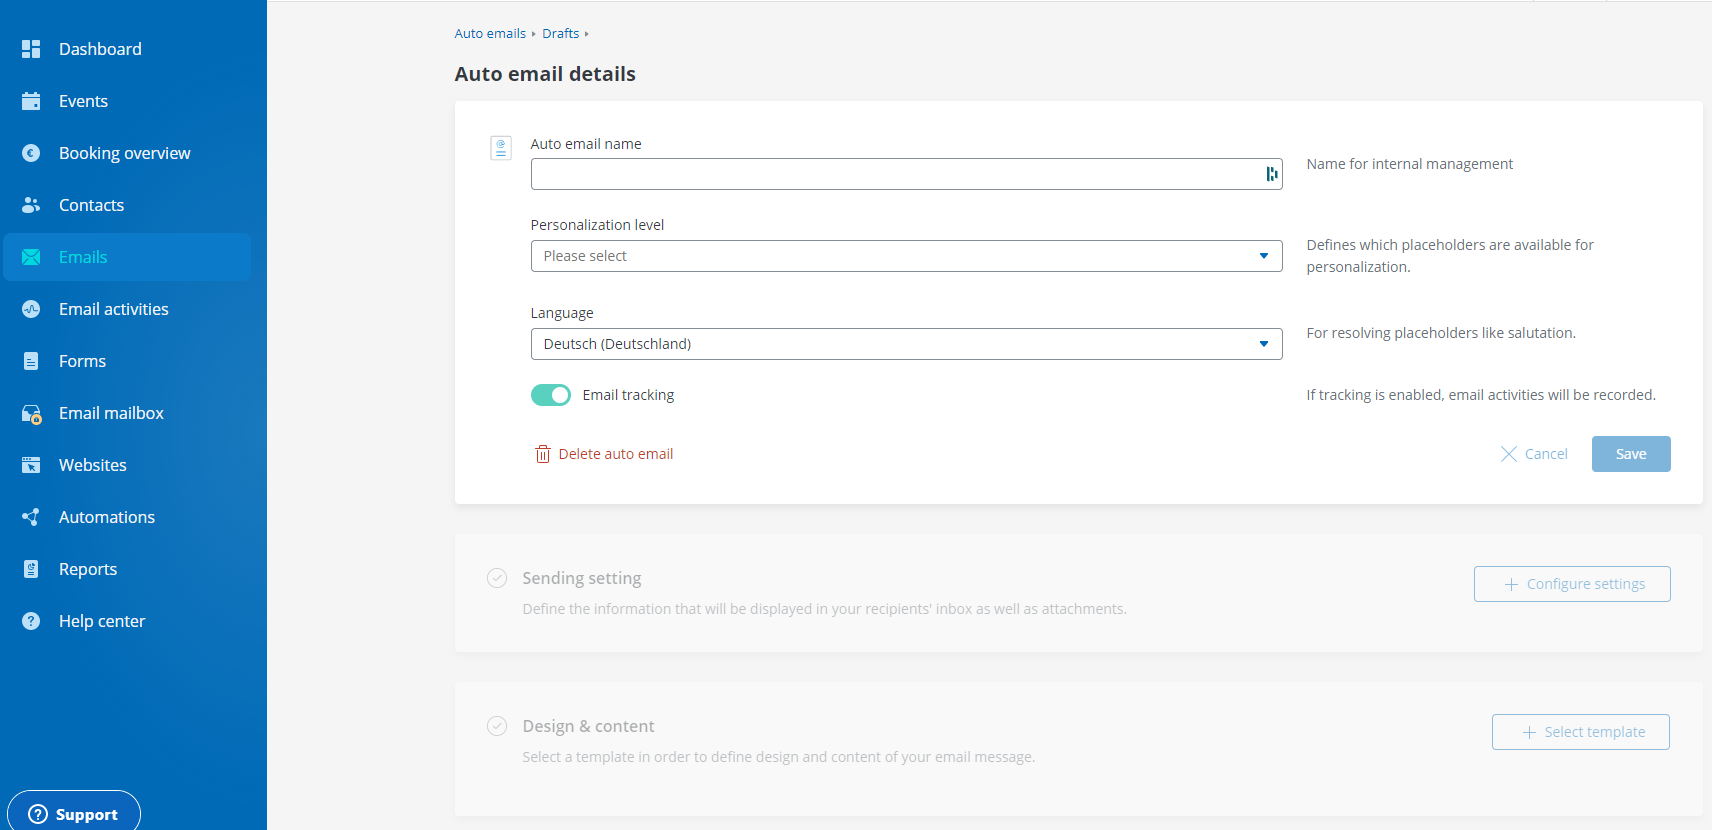
You will first need to give it a name and selecte your preferred personalization level, which will define which placeholders will be available for you in the body of the email message.
You can decide between:
- Event
- Contact
- Booking
- Attendee
Afterwards, you need to choose your language (German or English) and decide if you want to enable cross-event activities tracking for this template or not.
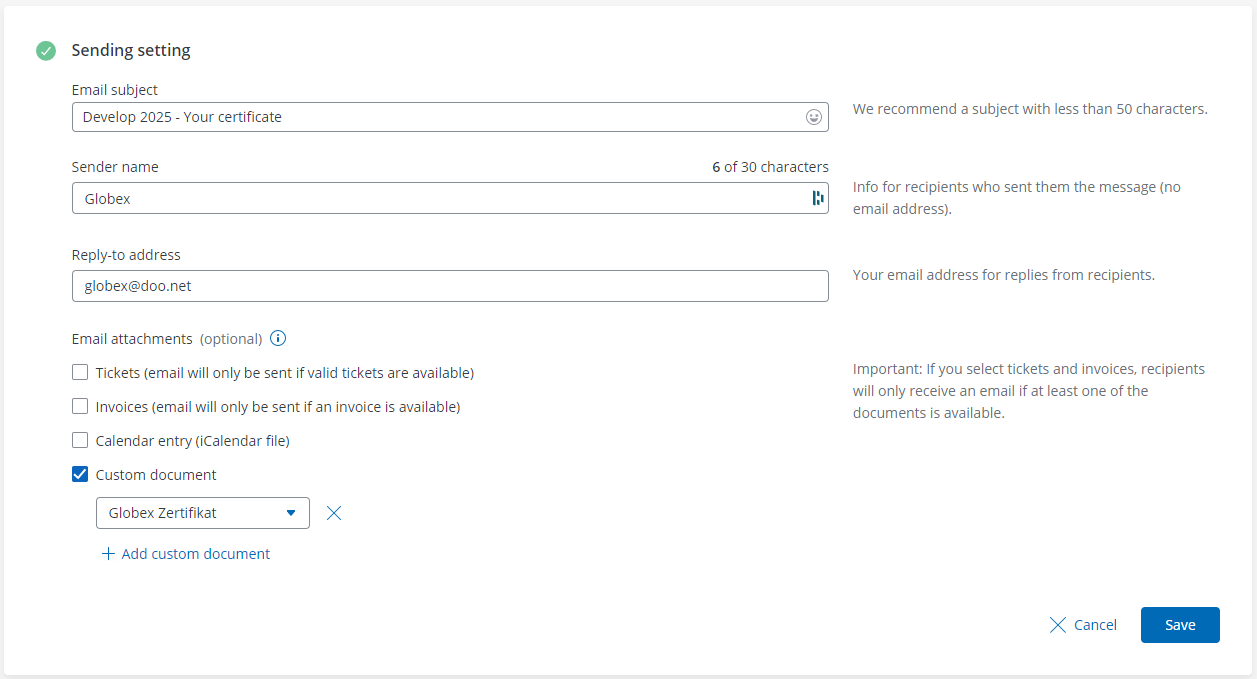
After this first step, you can specify the sending settings such as email subject, sender name and reply-to address. You can also choose one or more attachments based on the personalization level that you chose in the first step. For example, if you have chosen to create an auto email on attendee level, you will be able to attach a custom document to your auto email.
The last step “Design & Content” refers to the email body itself. You can create and edit your message with our usual drag & drop email editor, personalize the text by adding merge tags as placeholders and optionally also use liquid code.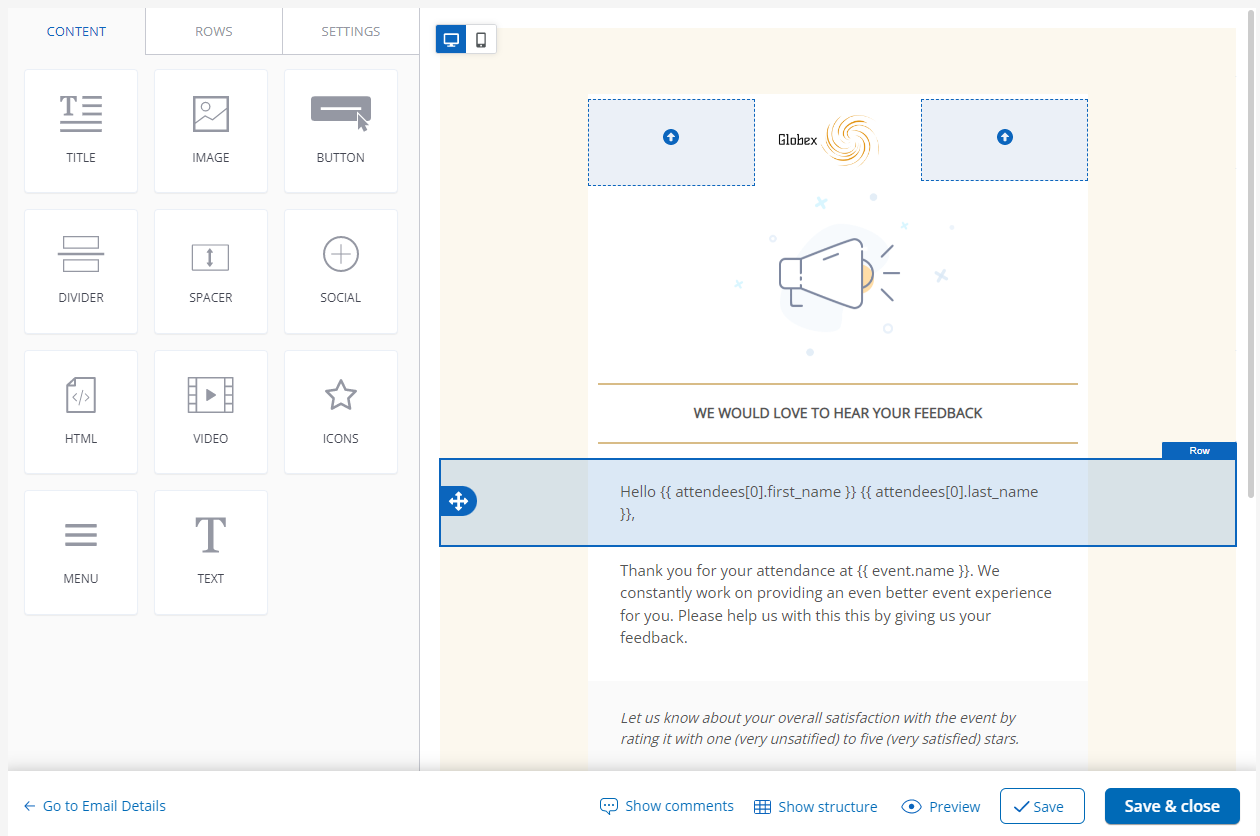
The list of available merge tags depends on the personalization level you chose for your template (event, contact, booking or attendee data). In addition to those placeholders, that refer to data that is stored within doo, it is also possible to add api-level placeholders in order to further personalize your email. Just add {{placeholders.KEY1}} to your text and replace “KEY1” with any placeholder name. The value for that placeholder can then later be set in the advanced settings of the “send auto email” module of your automation scenario (see 4.).
After having set all of these details, you will be able to publish your auto email template in order to automate its sendout in the next step with doo Automations. Please note that only live templates can be used for automated sendouts.
If you don’t want to publish your auto email right away you can save it as a draft template – you can then keep editing it at a later point or delete it. After a template has been published, it cannot be deleted anymore, but you can archive it if you don’t need it anymore.
4. Automate sendout of the auto email
After having published your auto email, you will be able to use it when setting up an automation scenario with doo Automations. All information on this feature and how to automate a workflow can be found here.
To integrate an auto email into a scenario, you just need to integrate the doo “Send auto email” module into your workflow, select the respective auto email template from the list and make the desired settings.