Create and edit ticket categories
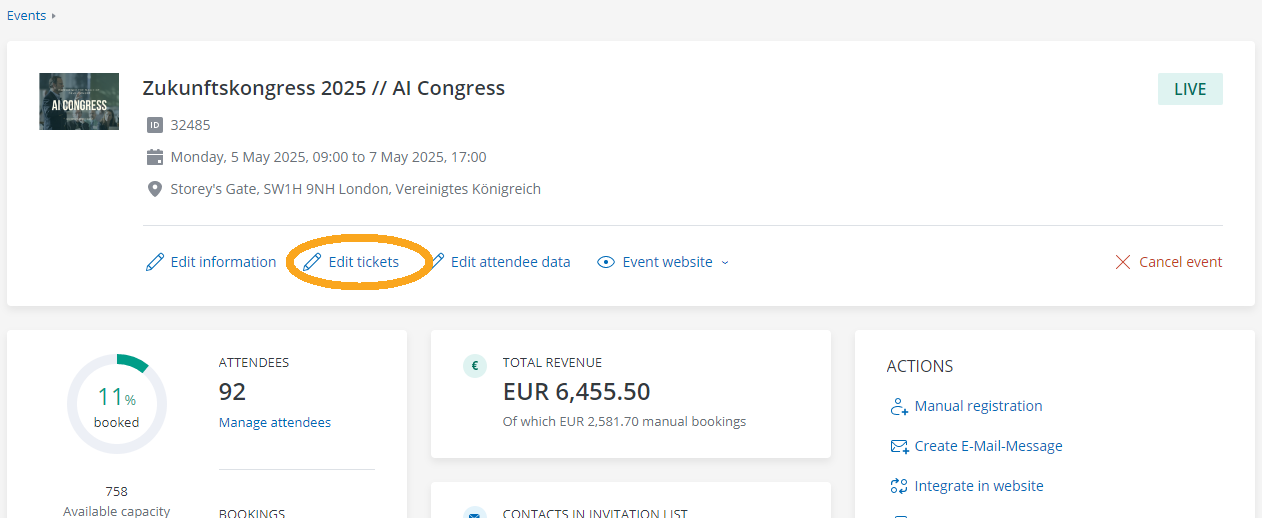
In the second step of the event creation “Tickets” you can create different ticket categories for your event. If your event is already created, you can access the page at any time by clicking on “Edit tickets” on the event details page.
Here you can manage all the settings regarding the ticket categories of your event.
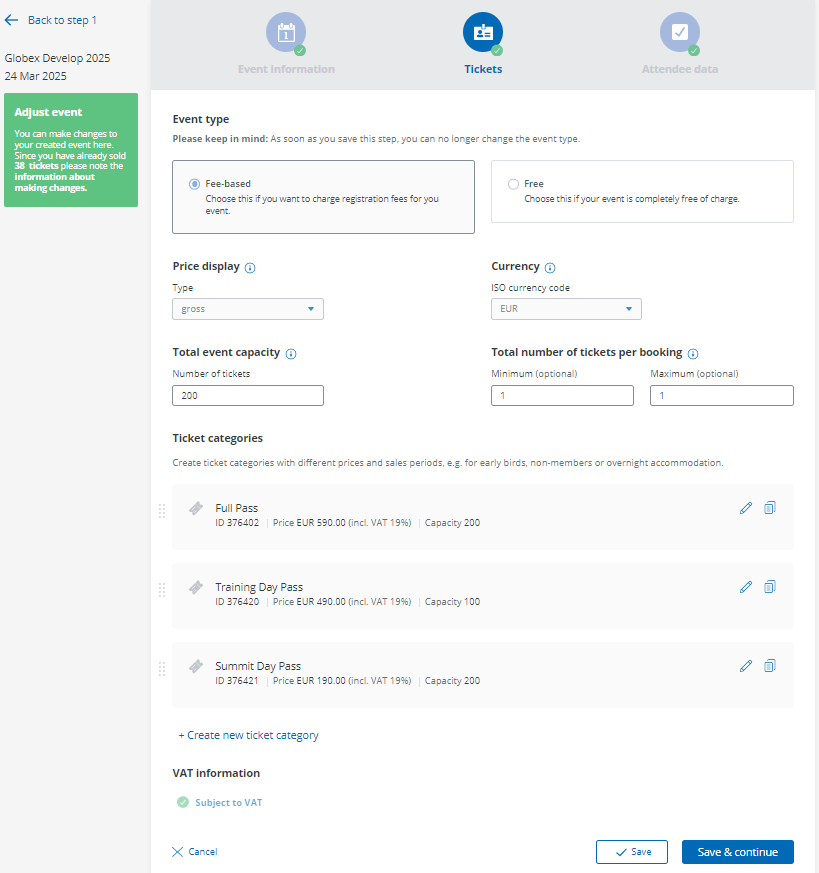
1. Event type
First of all you can define if your event is fee-based or free of charge. The event types differ slightly regarding the booking process as well regarding the standard email contents: While for free events the booker is for example asked to enter data of a “contact person”, fee-based events require an “invoice address”.
Important: Once you have saved the event type settings at the bottom of the page, you cannot change them anymore. If you would like to change the event type afterwards, you would have to create a completely new event – using the copy function won’t be possible because the type of the event cannot be changed when copying an event.
2. Price display
For fee-based events you can specify under Price display whether the prices on the booking page should be displayed in gross or net. If you select the net display, the VAT and the gross total will only be shown on the booking page after the ticket has been selected by the booker.
3. Currency
Select for your fee-based event in which currency it should be billed. Whether a currency other than Euro is available for your event depends on which payment service provider and payment options are set up for your doo account. Please be sure to read this article before selecting a different currency.
4. Total capacity
You can define a total capacity for each event as well as broken-down capacities for every ticket category. The total capacity defines the maximum of tickets that can be booked. It number can as large as the sum of all ticket category capacities and must be at least as large as the largest single capacity. The capacities of each ticket category can be defined in the settings of each category (see 5.)
Example: You have different prices for members and non-members. A maximum of 30 people can attend your event – no matter if they are members or not. Having a total capacity of 30, the event will be considered fully booked as soon as a total of 30 attendees have registered. Since the composition of the attendees (member or non-member) is irrelevant for you, you can select 30 as capacity for both ticket categories. Both categories can then be booked until the sum of the total booked tickets has reached 30.
5. Total number of tickets per booking
Here you can optionally decide how many tickets the booker can book within one booking. That way, you can, for example, avoid a booker “hoarding” many tickets and thus depriving other people of the opportunity to register. If he selects too few or too many, he will see a notification telling him to adjust his selection.
6. Ticket categories
In the next step you are asked to provide the following information in order to create your first ticket category.

6.1. General
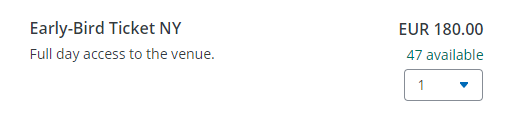
In the ticket category section “General” you can enter the title of the category, which should be shown to your bookers on the ticket selection page, e.g. “Registration Members” or “Early Bird Ticket”. Optionally you can also add a description, e.g. “Only for club members – please bring your member ID to the event”. The description will then be displayed on the booking site below the category title.
6.2. Price
For fee-based events a price and the VAT rate must be entered for each category. What you need to know about the VAT settings, can be found here.
Tip: If you need a free ticket category for a fee-based event, you can enter the price 0€. In case your event is subject to VAT, you need to enter a VAT even for free categories due to technical reasons.
6.3. Quantity
Under “Quantity” you can define how many tickets of the respective ticket category should be available. If the total capacity of the event is lower than the sum of the individual ticket capacities, they will be offset against each other. The event will be booked out as soon as the sum of the booked ticket categories reaches the total capacity defined by you (see 4.)

Furthermore, you can define the minimal and maximal amount of tickets that should be bookable of the respective category per booker.
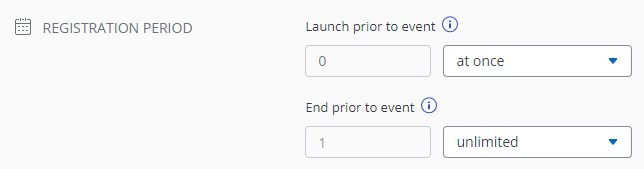
6.4. Sales / Registration period
Under Sales / Registration period, you can specify the period during which the corresponding ticket category should be bookable. By default, registrations are possible as soon as the event goes live and the registration period ends one hour before the event starts. However, you can change these settings individually by entering different dead lines.
Tip: If you would like to create an event with ticket prices that vary depending on the time of registration, you can create different ticket categories and use the sales period settings to create a graduation of prices. That way you can for example offer discounted early bird tickets that will be automatically replaced by a more expensive ticket category on a certain date.
6.5. More options – Appearance
By clicking on “More Options”, you can make changes to the appearance of the ticket category in the ticket shop.
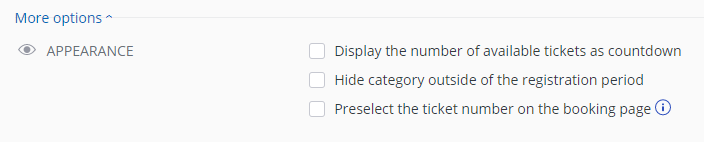
For example, you can display the number of available tickets per ticket category as a countdown in the booking process.
By default, ticket categories that are currently not bookable are shown greyed out on the booking page, indicating that they can not be booked at the moment. If you would like to hide ticket categories that can no longer or not yet be booked from the booking page, please check the box “Hide category outside of the sales period”.
You can also define, that a certain number of tickets is preselected on the booking page as soon as the booking page is opened to make the registration even more comfortable for your bookers.
6.6. More options: Conditions
In addition to the appearance settings you can also add specific conditions for ticket categories.
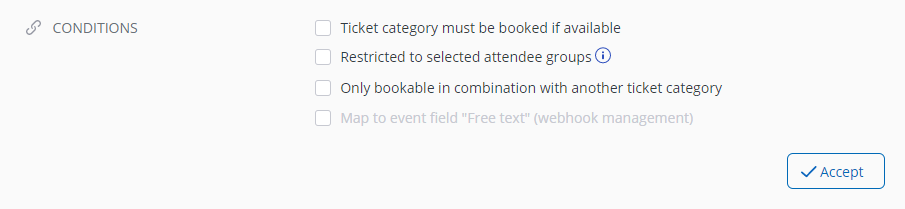
By selecting the first option, you can oblige the booker to book the ticket category if available. Only if at least one ticket of this category is selected, it’s possible to finalize a booking.
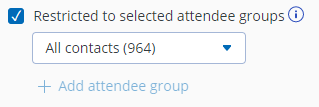
![]() Enterprise customers who use the doo email manager can restrict categories to specific contact groups. The respective category will only be visible for contacts who were invited via a doo email message and who accessed the booking page via the registration button in that email. More information can be found in the articles “Add contacts to contact center” and “How to create a new email message“. More possibilities to make your event exclusive for selected contacts can be found here.
Enterprise customers who use the doo email manager can restrict categories to specific contact groups. The respective category will only be visible for contacts who were invited via a doo email message and who accessed the booking page via the registration button in that email. More information can be found in the articles “Add contacts to contact center” and “How to create a new email message“. More possibilities to make your event exclusive for selected contacts can be found here.
![]() Enterprise customers also have the possibility to define that a ticket category can only be booked in combination with another category. That way you can make sure that for example a cheaper ticket for an accompanying person is only displayed and bookable if at least on regular ticket is booked.
Enterprise customers also have the possibility to define that a ticket category can only be booked in combination with another category. That way you can make sure that for example a cheaper ticket for an accompanying person is only displayed and bookable if at least on regular ticket is booked.
Customers for whom we set up a doo webhook interface can also connect categories to event attributes for data transfer. If you are interested in an automatic interface solution, please contact your doo counterpart or our Support Team.
6.7. Add new ticket categories
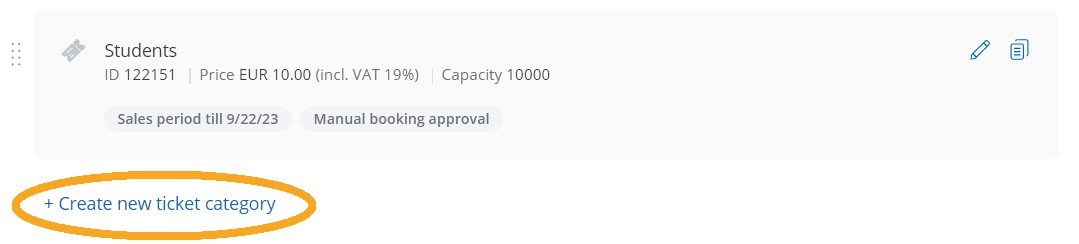
By selecting “+ Create new ticket category” you can add additional ticket categories. That way you can offer different ticket types the booker can choose from. Confirm the creation of each new ticket category by clicking on “Accept”.
6.8. Delete ticket categories
As long as the event is not live yet, you can delete ticket categories by clicking on the trash bin icon.
Due to documentation reasons it’s not possible to delete ticket categories anymore after the event was put live. However, you can always hide categories from the booking page. You can find a detailed instruction on how to do that in this article.
7. VAT information for fee-based events
For fee-based events you finally also need to select the VAT information for your event.
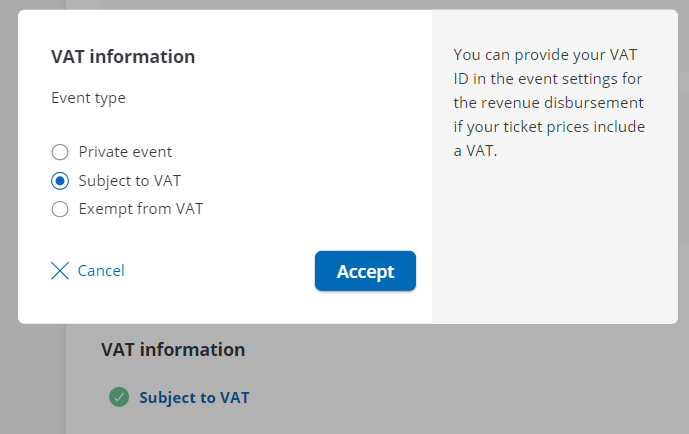
If your event is exempt from VAT, please make sure to enter the reason into the text box, which will then automatically appear on the invoices of your bookers.
More information about the VAT information can be found here.
8. Saving the changes
After you have created all required ticket categories and entered all necessary information and settings, click on “Save & Continue” in order to proceed to the third step of the event creation: Attendee data.
Tip: You can further individualize the booking process for your attendees by creating access codes for selected ticket categories or activating manual approval or a waiting list.