Enter and edit event information
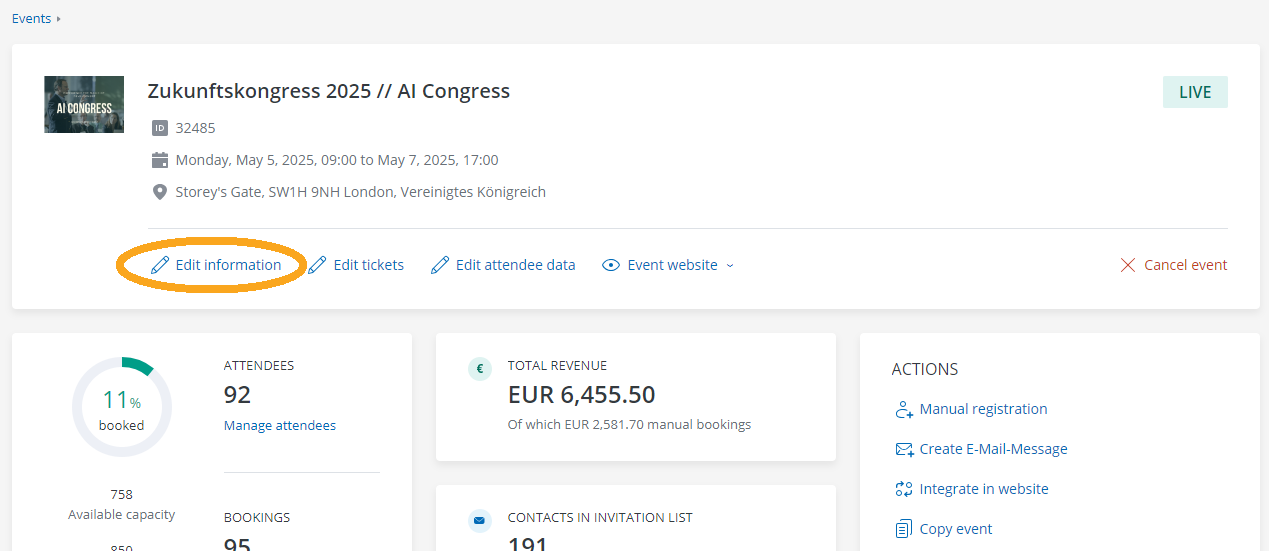
When you create a new event, the first step “Event information” will prompt you to enter all important information about your event. For an already created event, you can access this page again at any time by clicking on “Edit information” in the event details.
You will then be asked for the following information.
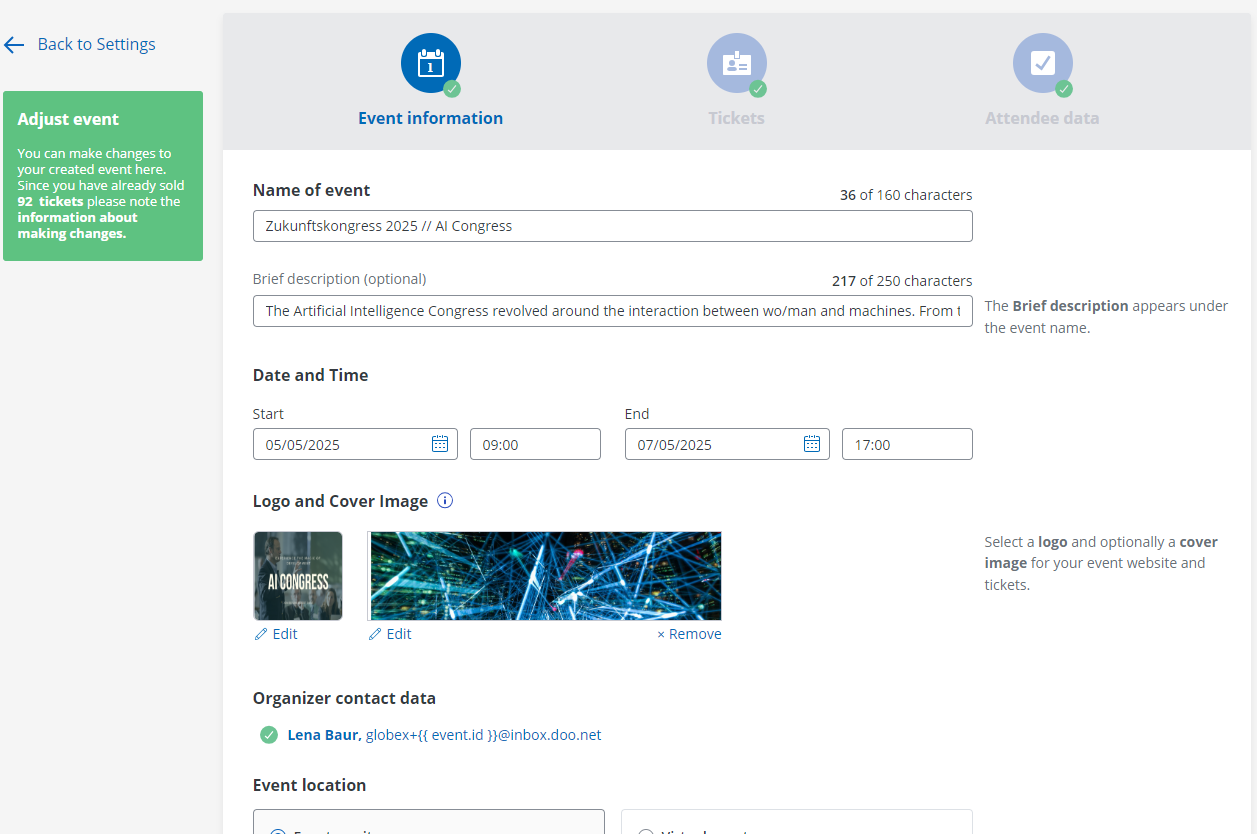
1. Name of Event
Enter the name of your event as you want it to appear on the booking page, in booking emails, on tickets, etc. Optionally, you can specify a short description that could be displayed as a subtitle in some places.
2. Date and time
Please select the start and the end date of your event as well as the time.
3. Logo and cover image
Choose a logo and a cover image by clicking on “Edit” to customize the presentation of your event towards your bookers.
The logo you upload will be displayed in the header of the doo standard event website. If you plan to integrate the doo booking mask into your own website using a widget, you do not need to upload a logo as it won’t be used in this case – just go ahead and upload a banner photo. More information about the doo event website and the layouts of the doo widgets can be found here.
![]()
After uploading a logo from your computer by clicking on the three dots on the right, you can select the shape of the logo above the preview as well as adjust the size of the image by adjusting on the bar below. Alternatively, you can select recently used logos. Once you have selected and adjusted your logo as desired, confirm it by clicking “Accept”.
You should select a cover image in any case, as it will automatically be used as a banner photo for all automatic emails sent to your bookers in connection with this event, such as booking confirmation, payment request and event reminder. It will also be adopted for example as the header for the widgets with event information and for the booking portal.
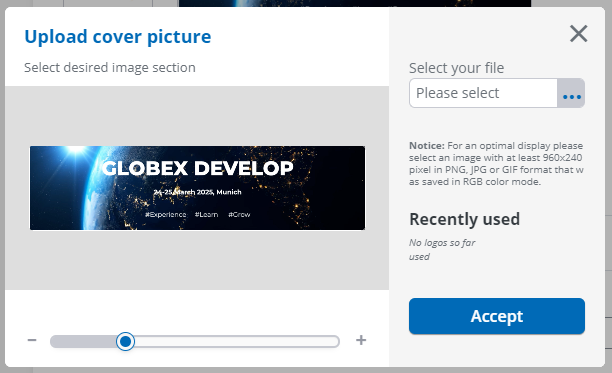
So please choose an appealing image and upload it, adjust the size if necessary and confirm the upload by clicking on “Accept”.
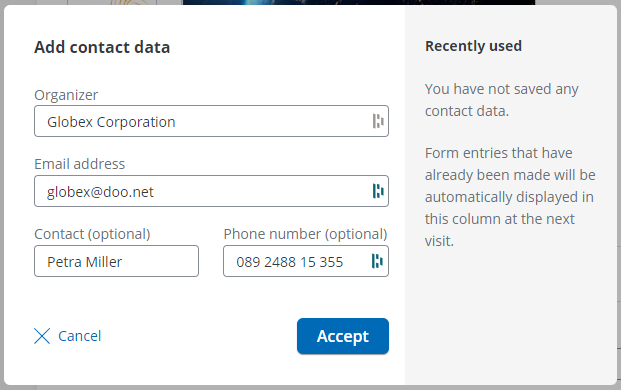
4. Organizer contact data
Please click on “Add contact data” and add a contact person, who will be in charge if attendees have any questions regarding your event. Alternativelyy, you have the option of selecting a recently used contact person of another event of your doo account.
5. Event location
First, select whether your event is an on-site event or a virtual event.
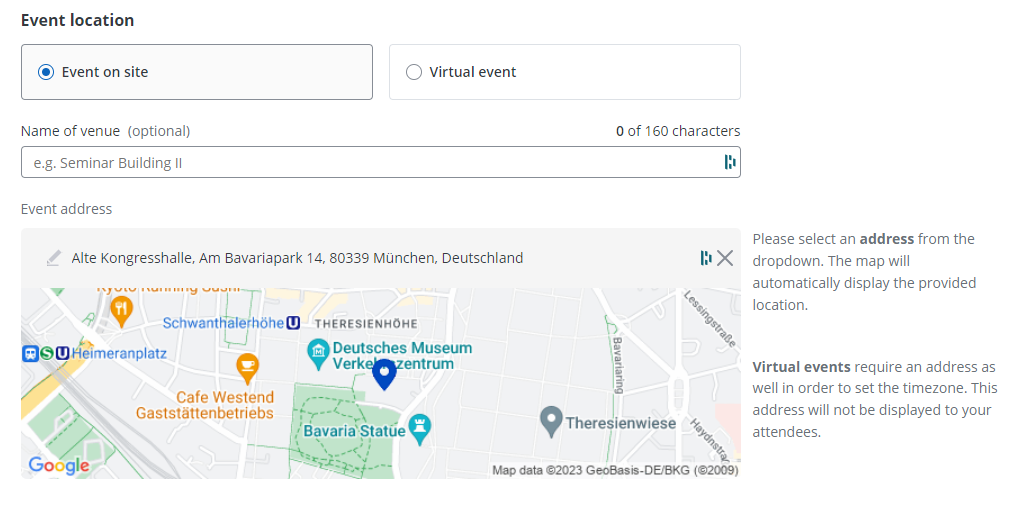
After entering the address in the corresponding field, Google Maps will automatically suggest locations for you. If an error message is displayed for the address field, please enter the street and house number of the event location again and wait until the matching address is displayed in the list and select it.
An address must also be entered for virtual events, as the time zone of the event is determined from the address. You could for example select your office address as the location – for virtual events, the event location is not displayed on the booking interfaces. More information on virtual events can be found here.
Tip: If you can’t or don’t want to name the exact location of the event, you can also just enter the name of the city, district or even state in the address field. However, please remember to inform your bookers in time about the actual event location (e.g. by an email campaign or in the event reminder).
Above the map, you can optionally enter the name and additional information about the event location to make it easier for your attendees to get there.
6. Event description
Here you have the option to describe your event and provide detailed information about its content and schedule. Please note that the event description is only displayed on the doo standard event page and in widgets that include event information. If you plan to work with widgets that do not display event information, you can leave this field blank and instead upload all details about your event to your website via your content management system.
The text you enter in the editor is rendered on the event page according to the settings of the respective widget. This means that the editor itself does not provide a 1:1 preview of how the text will appear in the widget. For this reason, the formatting options in the editor are limited. For example, the font type and size are defined by the widget, not by the editor. To see the final outcome, please review the text on the event webpage (either the doo standard page or your individual page).
TIP: When you insert a line break, a fixed spacing is added by default. This is similar to setting spacing for the default style template in Microsoft Word. To avoid this spacing and create a soft line break instead, use the keyboard shortcut Shift + Enter, just like in Word.

6.1. Insert a link
6.2. Insert an image
If you would like to insert an image into the event description, select the image icon in the toolbar above the text field. You can then choose whether to embed an online image via a link or upload an image from your device.
If you want to insert the image using a link, enter the web address where the image is hosted into the corresponding URL field. Under “Alternative Text”, you can add a brief description that will be displayed if the image cannot be loaded, which also improves accessibility. The fields “Width” and “Height” allow you to manually define the image size. When the “Preserve ratio” option is enabled, the original aspect ratio of the image is maintained, preventing any distortion. For visual customization, you can define a border width in pixels and specify the desired color using a hex code under “Border Color”. You can also set the horizontal and vertical spacing of the image relative to the surrounding content and define its alignment. Optionally, you may link the image to another page. To do so, enter the target address in the “Link URL” field. In the “Link title” field, you can add an optional tooltip that appears when bookers hover over the image. Finally, you can choose under “Link Target” whether the link should open in the same tab or in a new one.
If you choose the “Upload” option, you can select the appropriate file via the file browser, add alternative text under “Description”, which will be displayed if the image cannot be loaded, and define a width. After uploading the file to the editor by clicking “Confirm”, you can double‑click the image to make the formatting adjustments described above, such as changing the size or alignment or adding a border.
6.3. Description for calendar entries
If you plan to attach calendar entries to booking emails or email messages, you can insert a text here, which will be displayed to the recipients as a description of the iCalender file.
7. Advanced Settings: Event fields
To highlight special features of the event, categorise your events or offer files for download on your booking site, you can create event fields.
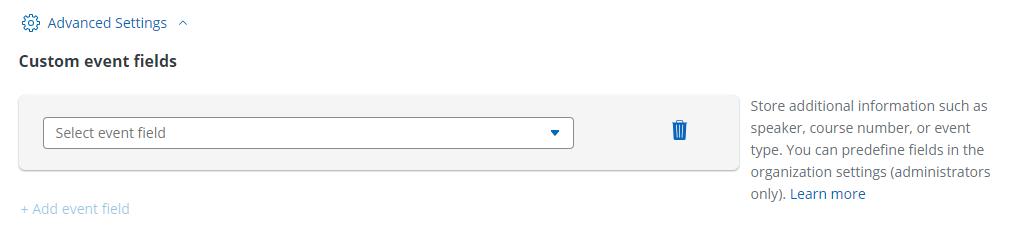
All information about using and creating event fields can be found here.