-
General information
-
Account Settings
- Creating & managing your personal doo account
- Organization settings: Managing your account settings
- User Management: How to Work as a Team
- How to reset your password
- Changing the email address of your doo account
- The doo account packages
- What can I do if a doo site does not load
- Adjusting standard labels and texts of the doo booking process
- How do I delete my account
- Payment Process: How to manage payment options
- Password Security using doo: What options are available?
-
Events
-
- Edit email contents
- Using placeholders in booking email templates
- How to adjust invoice contents
- Attendee tickets and QR code scanning
- How do doo tickets look like?
- E-mail attachments for bookers and attendee
- Certificates & Co: Create custom documents
- Define your own booking conditions
- Revenue Disbursement: Entering and editing invoice address & bank account information
- Create bilingual (multilingual) events
- Bookings with manual approval
- Create a waiting list
- Access codes and promotion codes: Discounted tickets for your participants
- General Event Documents: Share Presentations and Materials with Attendees
- Event Staff: Restricted user access for specific events
- doo Widgets: Integration into your own website
- doo Default Event Website and Custom Event Website
- How to create a booking process in english
- Overview: Providing event documents such as flyers, presentations or certificates
- How does the booking process work for my attendees?
- How do I make test bookings?
- Creating exclusive registration access for selected contacts
- Delete ticket categories & change prices and sales periods after go-live
- Cancellation of events
- What are event fields and how do I use them best ?
- Shorten the booking process and prefill data: How to make the booking process as convenient as possible for bookers
- Tips for virtual events with doo
- Integration into your own Facebook page
- Event Templates: Creating templates for your events
-
Manage Bookings
- Manage bookings and attendees
- Monitoring incoming bookings
- The attendee overview
- Invitation list: Track the registration status of specific contacts
- Manual registration
- Resend automatically generated emails
- Rebooking: How to change existing bookings
- Cancellation & Refund Handling
- Booking self-service: Allow bookers to subsequently access and edit their bookings
- Download booking overview and attendee list
- Change of attendee data and invoice address
- Bank transfer: How to deal with pending transactions
- What to do, if someone has not received their confirmation e-mail or ticket
-
Contact Management
- Contacts: Introduction and Topic Overview
- Contact details: Collect cross-event contact information
- Overview contact data fields
- Managing contact data fields
- Creating contacts - How do contacts get into the doo contact center?
- Contact import - Bulk creation and editing of contacts
- Managing existing contacts
- Creating and managing contact groups
- Datamatching & Synchronization of booking data and doo contact
- Email subscriptions: Double opt-in & opt-out options at doo
- Deleting contacts
-
Emails
-
Websites
- The doo website editor: create an individual event page
- Mobile optimization: Customize your site for all your devices
- Installing different tracking tools on the website
- Creating a SSL certificat (HTTPS) to ensure data security
- Website Tracking: How to integrate doo into your Google Analytics
- E-Commerce dataLayer-Events in our Widgets
-
Additional Functions
- Optional Service: Refund handling via doo
- Ticket design: How to get your ticket in the desired design
- Forms - Set up surveys and feedback requests for your attendees
- Embedded Reports
- Customer specific sender emails
- Add calendar entries to your event communication
- Filtered cross-event widgets: How to show only selected events
- Widgets and Accessibility
-
Automations
-
Booker & Attendee FAQ
-
On-Site and Attendance
Event Staff: Restricted user access for specific events
1. What is the user role “Event Staff”?
With the “Event Staff” user role, organizers can add people to their doo organization who should only have access to specific, selected events. Event Staff can only see the events they have been granted access to and—depending on the assigned access level—can view and comment on attendee data or also edit it.
Through targeted access control and data security, this role enables efficient collaboration with individuals who are not part of the organizer’s own organization. The Event Staff role is therefore suitable for check-in staff, partners, sponsors, speakers, or external project teams.
2. Permissions & Scope of the Event Staff Role
2.1 What can Event Staff see?
Event Staff can only see the menu items “Events” and “Booking Overview”. Within these sections, only the events and bookings explicitly shared with them are displayed. Menu items such as Dashboard, Contacts, Emails, Websites, or Reports are hidden for these users.
Event Staff also cannot access editing functions or settings of shared events.
2.2 What permissions does Event Staff have?
For each person in your Event Staff, you can define one of two access levels per event:
Commentator
Event Staff with Commentator rights can:
- Access the Booking Overview, Attendee Overview, and Invitation List
- Download booking and attendee exports
- Write booking comments
Read and Write Access
Users with Read and write access can additionally:
- Access Check-in Management and Manual Registration
- Edit bookings and attendee data
- Change booking status (e.g., manual approval, partial/full cancellation, mark payment as received)
- Create attendee documents and share general event documents
- Check in attendees and reverse check-ins
- Modify the invitation status of contacts on the invitation list
- Resend the last booking email
3. Adding & Removing Event Staff for an Event
- First, an administrator of your doo organization must invite the person via the User Management in the Organization Settings. Instructions for this can be found in our help center article on User Management.
- Once the invitation has been sent (you do not need to wait until it has been accepted), open the desired event from the Event Overview.
- Go to the “Event Settings” and select “Event Staff”.

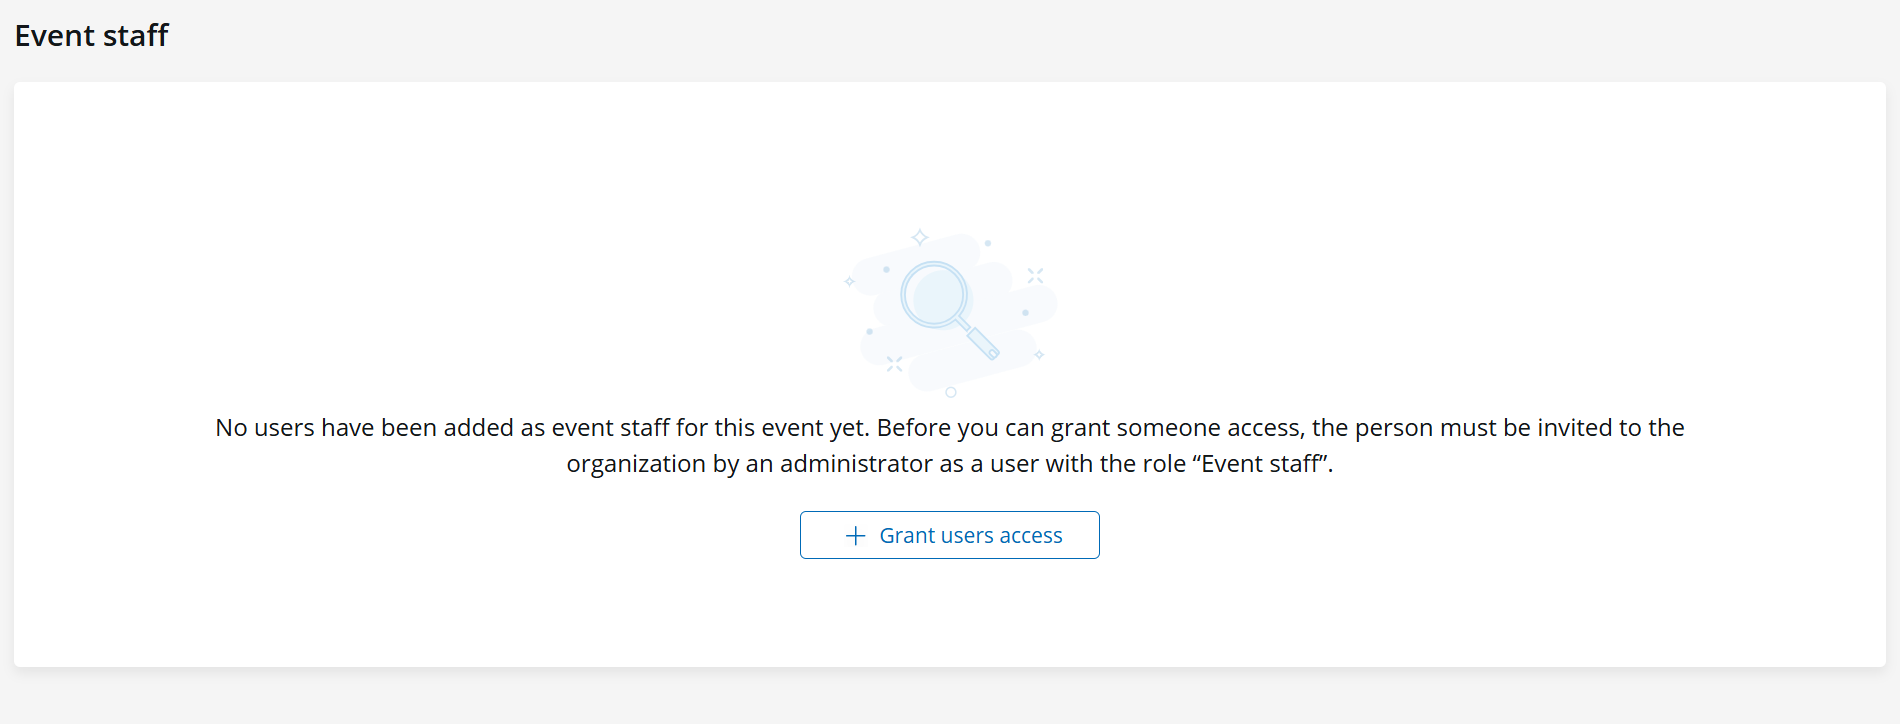
- Click “+ Grant users access”.
- Select the desired user from the list and choose an access level.

- Confirm your selection by clicking “Grant access”.
- The user immediately receives access to the event and will appear in the overview with their name and email address.
- You can view and adjust the assigned permissions at any time via the dropdown in the “Access level” column.
- To remove a user’s access to the event, click the “X” in the last column. Administrators can also revoke event access through the Organization Settings – details on this can be found in our User Management article.